Friday, February 6, 2015

Drapery Hardware choices for every style and application

Drapery Hardware in recent years has become more unique and innovative.
With so many styles to choose from it is difficult to talk about just one type.
I will focus on the different types and styles of drapery rods as inspiration to try new things!
Urban or Modern look
 The less froo froo the better for this style.  The use of wood or metal rods with finials (or not) in natural stone, acrylic or granite has become popular.  A few examples of this style are shown below.

This flat style traverse comes in 3" height and several colors

This granite finial attaches to a metal 1" rod for a very minimal look


Forrest Group Metal collection
Note the acrylic rings! Such a fresh look!
Metal mixed with acrylic is so fresh and sleek!

These rods are available in 1 1/2" diameter with or w/out rings

Ball Bearing Track- A very basic drapery rod
This style of drapery rod is usually hidden under a valance or cornice because the white track is shown upon opening the drapery.  Some folks don't like this showing, others do not mind as it can lend itself to modern and urban looks.
This style of rod is what I would call a basic rod that is the least expensive and offers the most support for heavy window treatments with multiple layers (up to 80 lbs).
This track is also very versatile as it can be wall mounted as well as ceiling mounted using different brackets for each type of installation. 
Shown below is the white ks track from Kirsch Inc ceiling mounted before valance installation.

Ceiling mounted before valance installed
Also on some installations like this one, it is necessary to arrive on site with the track in two pieces and the ks track is available with a very strong splice as seen below.  This does two things 1) saves on hassle during transport and shipping and 2) allows the rod to be a more manageable size during the installation process especially in cases where the rod will be over 12 feet wide.

The splice is very strong and allows two piece delivery
Traverse Rods
This style of rod is available in so many choices that allow versatility in designing the window treatment.  Sleek, chic and slender low profile styles such as the one from Brimar Inc are very popular with transitional or modern clients.  Shown below are a few examples of this style of traverse rod.
Low Profile 1" traverse rod

Flat style Rail uses micro ball bearing slides

 Ornate and larger diameter styles (1 1/2" , 2" and 2 1/4") such as the ones shown below can provide the base for a more traditional look with drapery panels.


This traverse rod uses ball bearing slides
This rod diameter is 1 1/2" and 2"


Kirsch Wood Trends 2 1/4" diameter
Cafe Rods
Cafe rods can be used with or without rings. Using these rods without rings would require a rod pocket in the panel being installed. If you use rings, it can be a very charming look as shown below.


The photo blow shows both types of panels installed rod pocket and flat panels.
Both rod pocket (on door) and flat panels (window) on rings shown

Ornate decorative Rods
Larger rods over 2" in diameter can really make a statement in a traditional setting. Below are a few examples from The Finial Company in 3" diameter.  These types of rods can be used with or without rings. 


Special designer finishes add bling to this 2 1/4" diameter rod


As you can see, there are many styles, colors and genres of drapery hardware that can inspire everyone's taste.


Thursday, February 5, 2015

And still more Cornices

Currently in the process of creating custom made cornices with decorative panels for a client and wanted to share the project as it progressed. For more cornices see this link. I am so excited about this design. It is going to be amazing!
There will be decorative panels in a white linen fabric with an embroidered tree pattern in a silvery/gold color.  I will be using nailhead embellishments from D'Kei.
D.A.D.s nailhead embellishment are from D'Kei
The addition of the nailheads are from a design inspiration I saw on Drapery Expressions website.  The embroidery on the main drapery fabric is shiny and silvery/gold, so I wanted to highlight this by using the metal accents.
Side by Side one with nailheads already on and one without
It was a bit of a challenge to get all the nailheads exactly alike and in the same place, but well worth it as they are aesthetically pleasing to the eye.

Will update and post additional pictures when progress is made.

Wednesday, February 4, 2015

I needed a needle book too!

Do you ever wonder why as creative people we sometimes settle for using old and ugly things to serve a purpose when we can make ourselves something nice and pretty and useful!?

I was so inspired by Laura Stepien's blog thehomemadeheart.blogspot.ca post from Tuesday 20 January 2015 titled "I need a needle book" that I decided to make one too. Mine isn't as quilty as hers, but it's got some pretty snazzy fabrics and it does the job better than the old piece of buckram I was using!

Go see the original post on the Sewing community.

I used 4 pieces of very nice silks that were in a discontinued designer fabrics sample book to create my book. I used 4 different pieces of fabric to make each side of the "book". So each side has a different fabric, I sewed them wrong sides together and turned them right side out and a page was made. I then sewed the two "pages" of the book together and there you have it, a nice looking "book" for my needles.  I think it took less than 5 minutes! 


Who knows, I might just make another more "quilty" one later. Thanks Laura!

Update--More than just a needle book!!
I was SOOOO inspired to create a "quilty" needle book that I did just that.
I decided to embellish on Laura Stepian's idea a bit and added a few twists to the needle book.
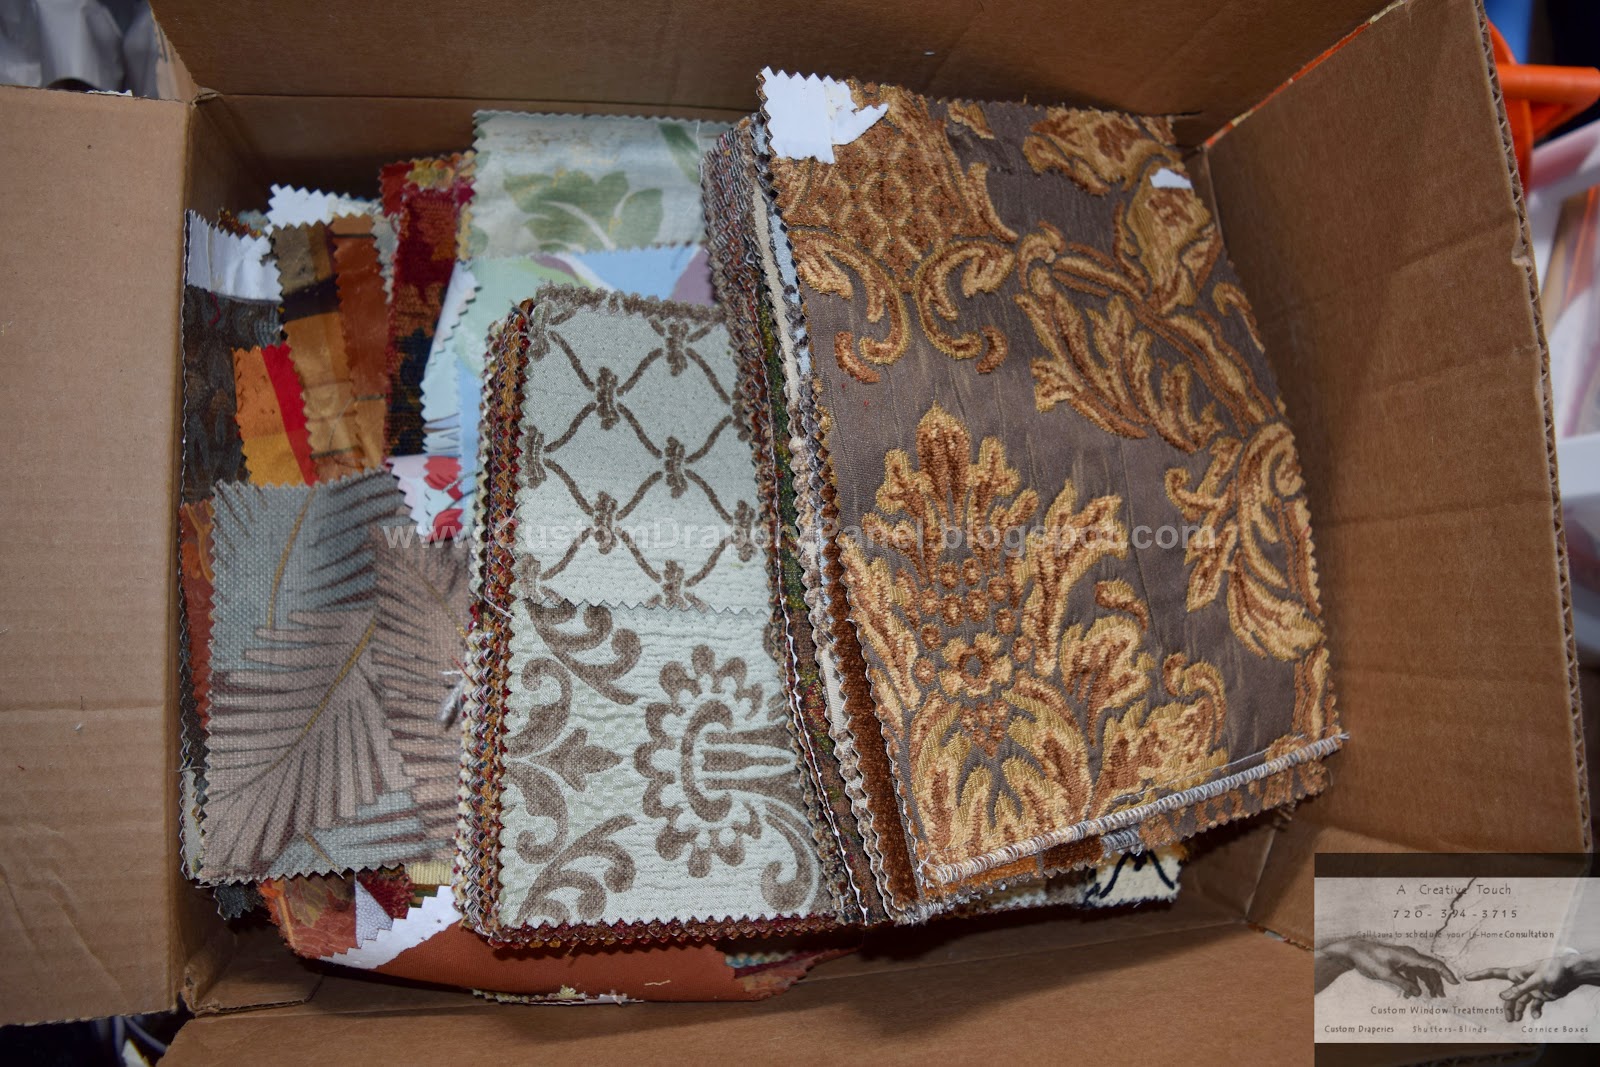
The box of Designer Fabric Sample Books that were discontinued
I then chose one of the fabric books I thought would be the right size and color I wanted and proceeded to dismantle it using the trusty dikes tool to remove all the staples and cardboard.
The front cardboard cover has been removed already

 I then choose some of the fabrics I thought would be a good size and color.
 I selected the peach colored one because it looked like it would be fun to do some trace sewing around the printed design that it had (for me this makes it "quilty"). I serged it adding a piece of felt backing so the trace sewing would show up. After I traced the printed design with some brown thread, I began the process of sewing the book togeteher.
Just like the last needle book, I put two different fabrics right sides together and serged them and turned them right side out.
 I added a border of scalloped embroidery stitching in brown abound the outside as well just to make it pop a bit.
 Here are the hand sewing needles on one of the felt pages!
The Twist on Laura's idea:
And now for the twist on Laura's original idea at The Homemade Heart blog:
I asked myself why only use this for hand sewing needles, why not make it work for machine needles and sewing machine feet too !?
How would I put the machine needles and machine feet into the book?
At first I played around with the idea to just put the machine needles into the book the same way I did the hand needles. Then I realized it will be difficult to see the needle sizes and which machine the needles are for (I have like 8 sewing machines!) So then I came up with the idea to use elastic sewed onto the "pages" of the book allowing the needles to stay in their original boxes (with their sizes on them and the company that made them thus being able to see sizes and which needles are for which machine).

So here is the twist - multiple pages in the book!
The sewing machine feet also go into the book with elastic strap

The recycle ready cardboard pieces after dismantling the sample book

 Below I pasted a couple of pics of how I "kept" my machine feet and needles and I use that term very loosely as it wasn't too pretty.

Before the needle book - what a mess!

Before the needle book--complete chaos!
Final Update:
I made one final revision to the book that really helps with the newer sewing machine feet! Many newer sewing machines have the feet that are flat so the elastic wasn't going to hold them in the book without blocking the view and you want to be able to see the feet.  So......I re-used the thick plastic cover from the sample book to make a pocket to hold the feet in the book. 
The plastic was perfect for the newer sewing machine feet!


The plastic was thick enough to make a substantial holder for the feet but not too thick that I couldn't sew thru it. 
Who knows, maybe I'll make one book for each sewing machine someday!

Tuesday, February 3, 2015

How To Use Twin Needles

Go and check out this great tutorial on how to thread your machine properly so the two threads are not getting twisted up during sewing on your machine with your twin needle.

Wednesday, January 28, 2015

Benefits and Disadvantages of using interlining in window treatments and drapery


Interlining can range in thickness depending on number of ounces per yard

Some facts about interlining:

  1. A standard weight would be 9 oz per yard such as the one used in this application:
  2. Interlining can range from 5 oz up to 20 oz per yard (commonly referred to as bump cloth)
  3. Common uses in window treatments include using with silk fabric to add body and fullness.
  4. A french blackout is created using interlining 
  5. Another use is when fabricating roman shades

Benefits of Interlining:
  1. Interlining improves the drape and hang of the curtains
  2. Gives a luxurious look and feel to the window treatment - adds body and fullness
  3. Protects the main fabric from harmful sunlight rays
  4. Provides window insulation – reduces direct loss of heat/air conditioned loss through the window, saving energy and keeps the room warmer/cooler
  5. Helps with noise reduction


Disadvantages of Interlining:
  1. Depending on ounces per yard it can add considerable extra weight to window treatments
  2. Additional Hardware required -- Ensure that the hardware being used is sturdy enough for the weight of the curtains and that the fixtures used to attach to the wall will support the weight. Using molly bolts or inserts rated for the appropriate weight will alleviate any problems.
  3. Not suitable for all climates –  in a humid/damp areas I wouldn’t recommend using bump as the natural fibers will absorb and hold the moisture from the air which could affect the main fabric.
  4. Extra cost – lining itself - cost to purchase as well as the additional labor cost. 
  5. Usual cleaning methods not recommended -- I do not recommend washing or dry-cleaning interlined drapery – just vacuum regularly and open the window to air them out.

Monday, January 12, 2015

Roman Shades with blackout lining improves your sleep and home entertainment

Roman shades in recent years are popular for adding styling and interest to décor. But when installed with blackout lining in the master bedroom, roman shades can significantly improve the quality of sleep.  Roman shades with blackout feature can also block out cold and heat.
Many clients have commented "My roman shades make my bedroom feel like a sanctuary, I sleep so much better now".
The fabric, interlining and blackout lining help with cutting down on noise levels as well as block out sunlight when you want to sleep in late.
Another application for a blackout lined roman shade is in the family room or entertainment area of the home where television screens can have glare from nearby windows.
A Creative Touch Draperies & Interiors uses high quality products on the roman shades to include blackout lining, as well as Rollease clutch system products to raise and lower the shade. This enables users to raise/lower the shade with ease and makes the shade feel light versus old style cordlock shades. We ensure the roman shades are in compliance with all ANSI standards with child safety techniques on all chains with the cord tension device
Benefits of roman shades made with blackout lining and Rollease clutch system are listed below:
           1) Ability to raise/lower shade partially without unsightly cords
           2) Style versatility - use different fabrics for shade and valance adds interest
                  -allows easy change out of velcro on valances adding style
           3) Shade coverage in close proximity to window glass due to shade design
           4) Reduction of noise & cold/heat due to thermal lining/interlining
           5) Block sunlight out (sleep improvement and home entertainment)
           6) Comply with 2010 ANSI standards on child cord safety
There are several available roman shade styles to choose from flat, hobbled, stitched, relaxed etc.          
Below is included some photos of custom made roman shades from A Creative Touch Draperies & Interiors.
Rollease clutch system hardware allows shades to be raised partially without the need to wrap a cord around a cord holder (this doesn't look as clean as a single chain). The Rollease roller tube allows the shade to stay in place without unsightly cords.


The same shades are shown again lowered completely
 
Roman shades in raised position
No unsightly cords and very clean look!
 
The Rollease roller tube detail shown (valance has been removed to show detail) 
Complete blackout feature allows you to sleep in late!
A cord tension device was added after this photo was taken
 
Another shade shown partially raised. This shade has a neutral fabric for the main shade and a print fabric for the valance portion.
 
 A Cord tension device was added after this photo was taken
Cord tension device was added after photo was taken

Cord tension device was added after photo was taken
 
Cord tension devices were added after this photo was taken
 
An example of a silk roman shade with box pleat valance
 
A valance shown with the shade completely rolled up
 
The same window with the shade rolled down
 
The Rollease Hardware and Lift chain
Notice the stapled on Velcro strip on front of board - used to attach valances
Cord tensioner device in several coordinating colors
 
Roman Shade shown raised

The same shade shown lowered