Friday, February 20, 2015

Fabrics fabrics fabrics and more fabrics......

I love fabrics and being in the design industry is just the right place to be.  When a new collection comes out, I can't wait to share it.
Some of the time, the new collections are so good, I want to share them before they come out!
Since I have the inside track on when the best and most beautiful fabrics are coming out, I can pass that along to my readers.
I wanted to share these embroidered beauties from Wesco Fabrics with you today.

Coming this Fall 2015 from Wesco fabrics a silk/linen blend with a vibrant blue embroidery design


This would make some lovely drapery panels, table runners or anything you can think of that requires a statement design like this embroidered pattern does.

This beautiful embroidery design was released in the Fall 2014 collection


The pattern repeat is huge on this beauty and I love the vibrant colors!
The vibrant oranges and reds make me feel like going to the islands!
This embroidered fabric is available now and is inspired by the tropical island of Maldives.

Love this pallet of color!

A popular color Aegean has been redefined with the use of avocado.
Need some bling? The linen has metal embellishments attached for a bit of shine
 Love the linen with metal embellishments for pillows! So cute. Here it is in a fabricated pillow with gold colored embellishments:


 I can just imagine what these would look like in pillows on a white sofa!

This paisley is fun with the aqua, lime green and grey
 These raspberry prints are all in stock and ready to be made into something gorgeous!

Hints of Indian tribal influences in these fabrics from Vervain
The vibrant magenta and silver really accent one another.
Got bling? These trims add that something special to any pillow or drapery
Love this trim with baubles and braided edging details


Friday, February 6, 2015

Drapery Hardware choices for every style and application

Drapery Hardware in recent years has become more unique and innovative.
With so many styles to choose from it is difficult to talk about just one type.
I will focus on the different types and styles of drapery rods as inspiration to try new things!
Urban or Modern look
 The less froo froo the better for this style.  The use of wood or metal rods with finials (or not) in natural stone, acrylic or granite has become popular.  A few examples of this style are shown below.

This flat style traverse comes in 3" height and several colors

This granite finial attaches to a metal 1" rod for a very minimal look


Forrest Group Metal collection
Note the acrylic rings! Such a fresh look!
Metal mixed with acrylic is so fresh and sleek!

These rods are available in 1 1/2" diameter with or w/out rings

Ball Bearing Track- A very basic drapery rod
This style of drapery rod is usually hidden under a valance or cornice because the white track is shown upon opening the drapery.  Some folks don't like this showing, others do not mind as it can lend itself to modern and urban looks.
This style of rod is what I would call a basic rod that is the least expensive and offers the most support for heavy window treatments with multiple layers (up to 80 lbs).
This track is also very versatile as it can be wall mounted as well as ceiling mounted using different brackets for each type of installation. 
Shown below is the white ks track from Kirsch Inc ceiling mounted before valance installation.

Ceiling mounted before valance installed
Also on some installations like this one, it is necessary to arrive on site with the track in two pieces and the ks track is available with a very strong splice as seen below.  This does two things 1) saves on hassle during transport and shipping and 2) allows the rod to be a more manageable size during the installation process especially in cases where the rod will be over 12 feet wide.

The splice is very strong and allows two piece delivery
Traverse Rods
This style of rod is available in so many choices that allow versatility in designing the window treatment.  Sleek, chic and slender low profile styles such as the one from Brimar Inc are very popular with transitional or modern clients.  Shown below are a few examples of this style of traverse rod.
Low Profile 1" traverse rod

Flat style Rail uses micro ball bearing slides

 Ornate and larger diameter styles (1 1/2" , 2" and 2 1/4") such as the ones shown below can provide the base for a more traditional look with drapery panels.


This traverse rod uses ball bearing slides
This rod diameter is 1 1/2" and 2"


Kirsch Wood Trends 2 1/4" diameter
Cafe Rods
Cafe rods can be used with or without rings. Using these rods without rings would require a rod pocket in the panel being installed. If you use rings, it can be a very charming look as shown below.


The photo blow shows both types of panels installed rod pocket and flat panels.
Both rod pocket (on door) and flat panels (window) on rings shown

Ornate decorative Rods
Larger rods over 2" in diameter can really make a statement in a traditional setting. Below are a few examples from The Finial Company in 3" diameter.  These types of rods can be used with or without rings. 


Special designer finishes add bling to this 2 1/4" diameter rod


As you can see, there are many styles, colors and genres of drapery hardware that can inspire everyone's taste.


Thursday, February 5, 2015

And still more Cornices

Currently in the process of creating custom made cornices with decorative panels for a client and wanted to share the project as it progressed. For more cornices see this link. I am so excited about this design. It is going to be amazing!
There will be decorative panels in a white linen fabric with an embroidered tree pattern in a silvery/gold color.  I will be using nailhead embellishments from D'Kei.
D.A.D.s nailhead embellishment are from D'Kei
The addition of the nailheads are from a design inspiration I saw on Drapery Expressions website.  The embroidery on the main drapery fabric is shiny and silvery/gold, so I wanted to highlight this by using the metal accents.
Side by Side one with nailheads already on and one without
It was a bit of a challenge to get all the nailheads exactly alike and in the same place, but well worth it as they are aesthetically pleasing to the eye.

Will update and post additional pictures when progress is made.

Wednesday, February 4, 2015

I needed a needle book too!

Do you ever wonder why as creative people we sometimes settle for using old and ugly things to serve a purpose when we can make ourselves something nice and pretty and useful!?

I was so inspired by Laura Stepien's blog thehomemadeheart.blogspot.ca post from Tuesday 20 January 2015 titled "I need a needle book" that I decided to make one too. Mine isn't as quilty as hers, but it's got some pretty snazzy fabrics and it does the job better than the old piece of buckram I was using!

Go see the original post on the Sewing community.

I used 4 pieces of very nice silks that were in a discontinued designer fabrics sample book to create my book. I used 4 different pieces of fabric to make each side of the "book". So each side has a different fabric, I sewed them wrong sides together and turned them right side out and a page was made. I then sewed the two "pages" of the book together and there you have it, a nice looking "book" for my needles.  I think it took less than 5 minutes! 


Who knows, I might just make another more "quilty" one later. Thanks Laura!

Update--More than just a needle book!!
I was SOOOO inspired to create a "quilty" needle book that I did just that.
I decided to embellish on Laura Stepian's idea a bit and added a few twists to the needle book.
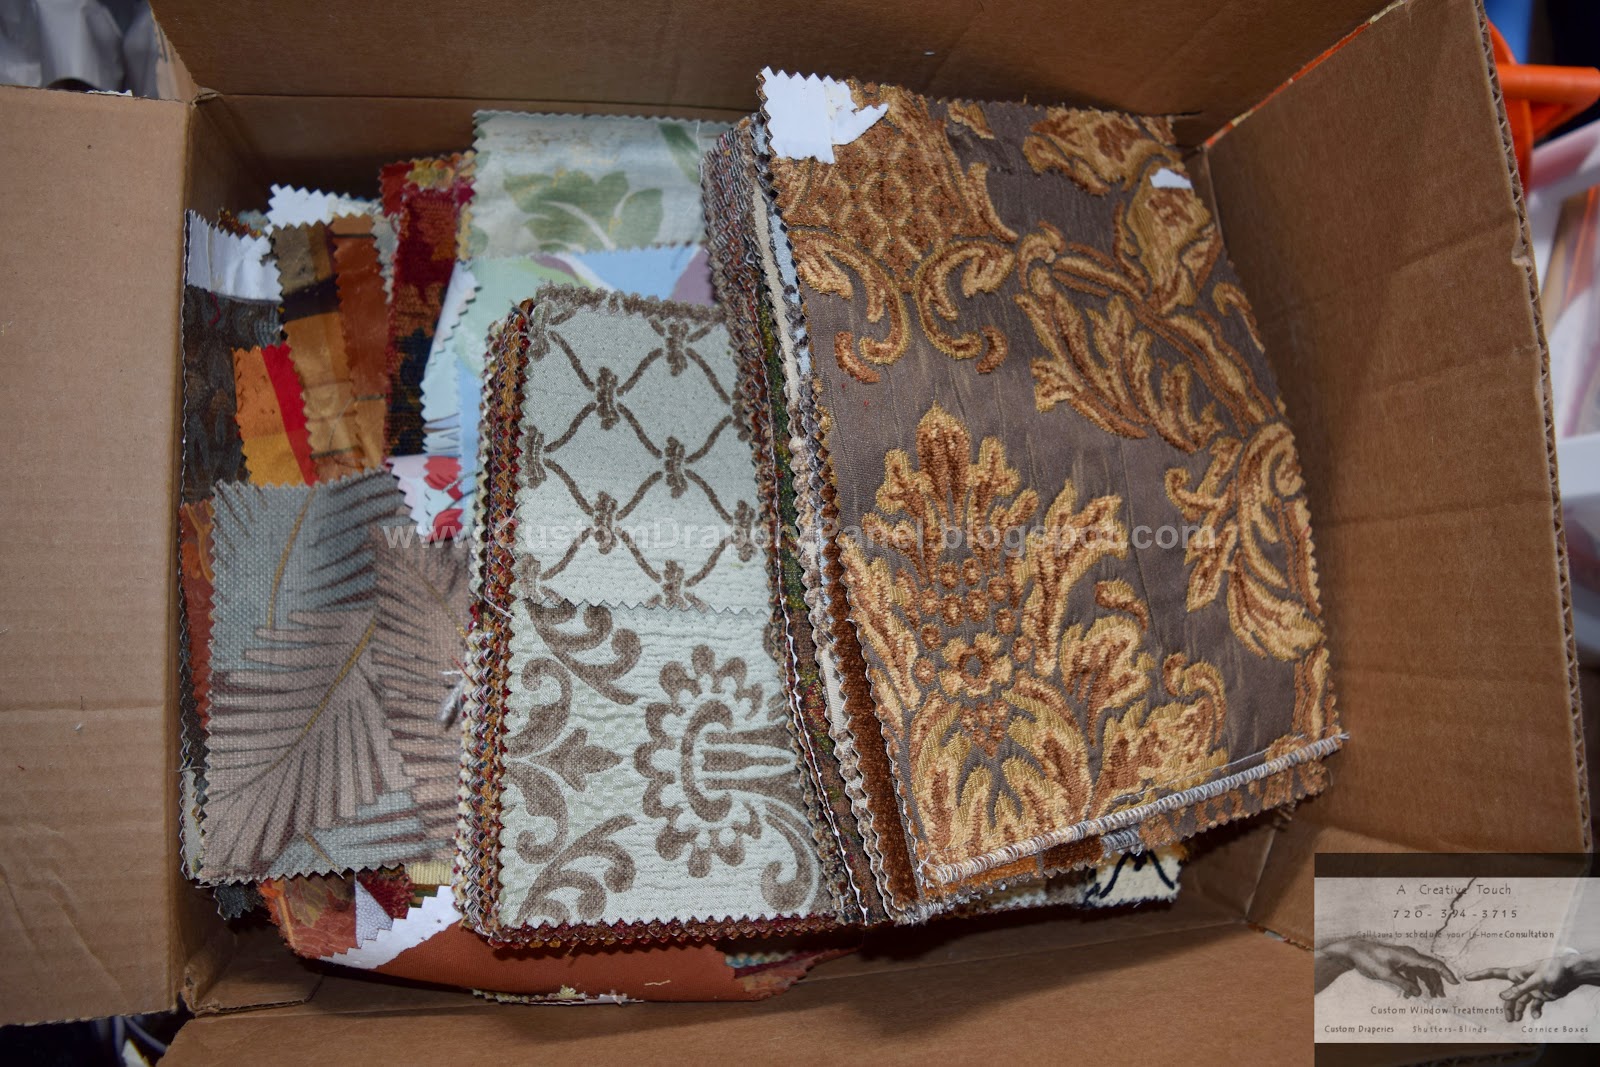
The box of Designer Fabric Sample Books that were discontinued
I then chose one of the fabric books I thought would be the right size and color I wanted and proceeded to dismantle it using the trusty dikes tool to remove all the staples and cardboard.
The front cardboard cover has been removed already

 I then choose some of the fabrics I thought would be a good size and color.
 I selected the peach colored one because it looked like it would be fun to do some trace sewing around the printed design that it had (for me this makes it "quilty"). I serged it adding a piece of felt backing so the trace sewing would show up. After I traced the printed design with some brown thread, I began the process of sewing the book togeteher.
Just like the last needle book, I put two different fabrics right sides together and serged them and turned them right side out.
 I added a border of scalloped embroidery stitching in brown abound the outside as well just to make it pop a bit.
 Here are the hand sewing needles on one of the felt pages!
The Twist on Laura's idea:
And now for the twist on Laura's original idea at The Homemade Heart blog:
I asked myself why only use this for hand sewing needles, why not make it work for machine needles and sewing machine feet too !?
How would I put the machine needles and machine feet into the book?
At first I played around with the idea to just put the machine needles into the book the same way I did the hand needles. Then I realized it will be difficult to see the needle sizes and which machine the needles are for (I have like 8 sewing machines!) So then I came up with the idea to use elastic sewed onto the "pages" of the book allowing the needles to stay in their original boxes (with their sizes on them and the company that made them thus being able to see sizes and which needles are for which machine).

So here is the twist - multiple pages in the book!
The sewing machine feet also go into the book with elastic strap

The recycle ready cardboard pieces after dismantling the sample book

 Below I pasted a couple of pics of how I "kept" my machine feet and needles and I use that term very loosely as it wasn't too pretty.

Before the needle book - what a mess!

Before the needle book--complete chaos!
Final Update:
I made one final revision to the book that really helps with the newer sewing machine feet! Many newer sewing machines have the feet that are flat so the elastic wasn't going to hold them in the book without blocking the view and you want to be able to see the feet.  So......I re-used the thick plastic cover from the sample book to make a pocket to hold the feet in the book. 
The plastic was perfect for the newer sewing machine feet!


The plastic was thick enough to make a substantial holder for the feet but not too thick that I couldn't sew thru it. 
Who knows, maybe I'll make one book for each sewing machine someday!

Tuesday, February 3, 2015

How To Use Twin Needles

Go and check out this great tutorial on how to thread your machine properly so the two threads are not getting twisted up during sewing on your machine with your twin needle.