I was so inspired by Laura Stepien's blog thehomemadeheart.blogspot.ca post from Tuesday 20 January 2015 titled "I need a needle book" that I decided to make one too. Mine isn't as quilty as hers, but it's got some pretty snazzy fabrics and it does the job better than the old piece of buckram I was using!
Go see the original post on the Sewing community.
I used 4 pieces of very nice silks that were in a discontinued designer fabrics sample book to create my book. I used 4 different pieces of fabric to make each side of the "book". So each side has a different fabric, I sewed them wrong sides together and turned them right side out and a page was made. I then sewed the two "pages" of the book together and there you have it, a nice looking "book" for my needles. I think it took less than 5 minutes!
Who knows, I might just make another more "quilty" one later. Thanks Laura!
Update--More than just a needle book!!
I was SOOOO inspired to create a "quilty" needle book that I did just that.
I decided to embellish on Laura Stepian's idea a bit and added a few twists to the needle book.
 | |
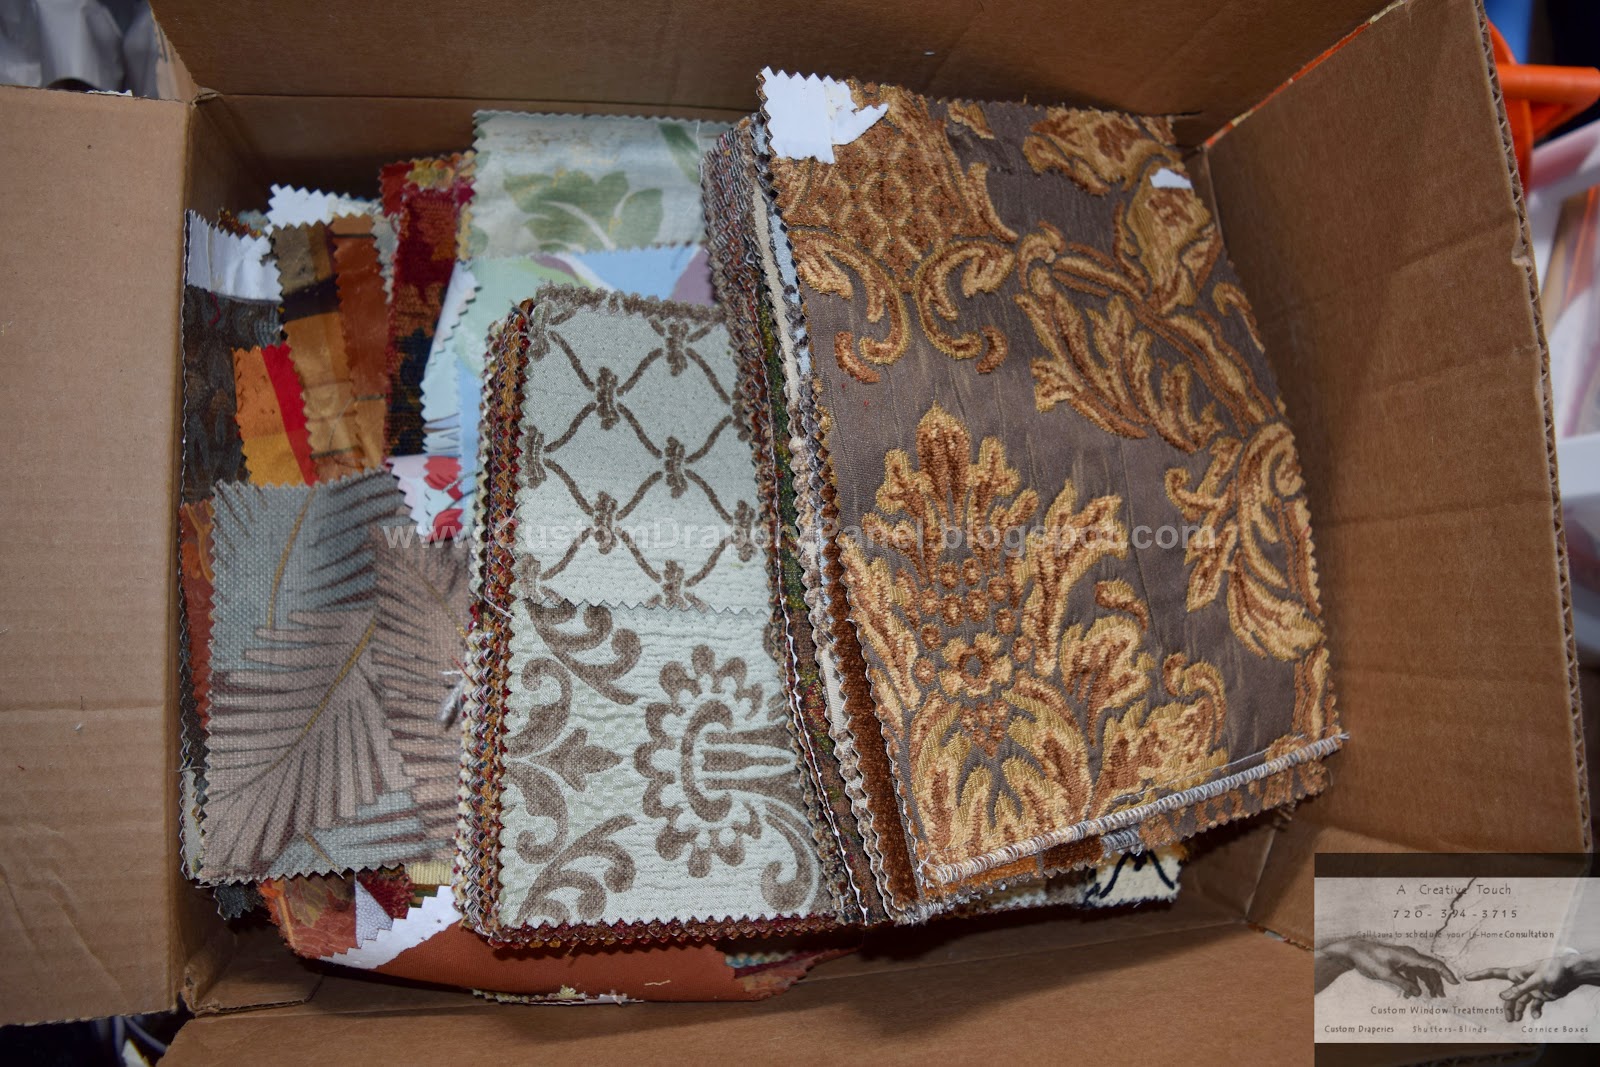
| The box of Designer Fabric Sample Books that were discontinued |
 | ||
| The front cardboard cover has been removed already |
I selected the peach colored one because it looked like it would be fun to do some trace sewing around the printed design that it had (for me this makes it "quilty"). I serged it adding a piece of felt backing so the trace sewing would show up. After I traced the printed design with some brown thread, I began the process of sewing the book togeteher.
Just like the last needle book, I put two different fabrics right sides together and serged them and turned them right side out.
I added a border of scalloped embroidery stitching in brown abound the outside as well just to make it pop a bit.
Here are the hand sewing needles on one of the felt pages!
The Twist on Laura's idea:
And now for the twist on Laura's original idea at The Homemade Heart blog:
I asked myself why only use this for hand sewing needles, why not make it work for machine needles and sewing machine feet too !?
How would I put the machine needles and machine feet into the book?
At first I played around with the idea to just put the machine needles into the book the same way I did the hand needles. Then I realized it will be difficult to see the needle sizes and which machine the needles are for (I have like 8 sewing machines!) So then I came up with the idea to use elastic sewed onto the "pages" of the book allowing the needles to stay in their original boxes (with their sizes on them and the company that made them thus being able to see sizes and which needles are for which machine).
 |
| So here is the twist - multiple pages in the book! |
 |
| The sewing machine feet also go into the book with elastic strap |
 |
| The recycle ready cardboard pieces after dismantling the sample book |
 |
| Before the needle book - what a mess! |
 |
| Before the needle book--complete chaos! |
I made one final revision to the book that really helps with the newer sewing machine feet! Many newer sewing machines have the feet that are flat so the elastic wasn't going to hold them in the book without blocking the view and you want to be able to see the feet. So......I re-used the thick plastic cover from the sample book to make a pocket to hold the feet in the book.
.jpg) | ||||
| The plastic was perfect for the newer sewing machine feet! |
Who knows, maybe I'll make one book for each sewing machine someday!


No comments:
Post a Comment